DNSCrypt and Pi-Hole as Your Home DNS Service on Raspberry Pi
Saturday, 30 Jul 2022
As a citizen of Indonesia, we have just to accept that most of our broadband ISPs are censoring our DNS Query in the name of “Internet Sehat” (aka Healty Internet). A stupid policy created by our great Ministry of Communication and Information or called Kominfo. But, its not healty because its slowing down our internet access. Event some discussion site like Reddit also got blocked. I used two broadband ISPs at home. Telkom IndiHome and Biznet Home. Both of them also applying those “Internet Sehat” censorship.
This policy event got hit not only for broadband subscriber, but for BGP IP Transit subscriber too. During my time as Network Engineer Chief at Universitas Indonesia, Telkom as our BGP peer done this to us. They make reason in the name of blocking of access to radical movement and pornography access. Hell yeah, man - an university is about a place where you trained your critical thinking and push the knowledge boundaries further -. Its not a place for censorship. In the name of research ( yes, true research not for your personal desires ), some Sociology students, or Pychology students, or event Health faculties might need access to those contents. In order to get their views on latest socio development or maybe missbehaviour conduct that happened in society, to study them. In other hand, our internet access also become slower because our traffic got redirected to those slow response Telkom DNS.
In the end, we submitted a protest letter to Telkom and our DNS redirection got lifted. This events was during 2015 (or 2016), when i was in Universitas Indonesia data center.
Okay, enough for the backstory. Lets discuss the tools that we want to use in our home network for bypassing those blockade. They are Pi-Hole and DNSCrypt Proxy
Added : On July 30th, 2022, our beloved Kominfo has launch blockade again via DNS censorship on Paypal, Steam, Epic Store and various services.
Pi-Hole and DNSCrypt Proxy
Pi-Hole is a DNS Sinkhole and resolver that can protect our devices from ads and unwanted content. You can manage it by your own with very easy. It has API and Web Based front end for management, also some CLI. You can implement your own blocklists and event parental control on Pi-Hole. Various community ads, malware and parental control are abundant to be used by your Pi-Hole. Also, it makes your DNS query a little bit faster, because it will cache the query result. It also will make your internet browsing experience cleaner with reduced to none of ads displayed and minimalized tracker.
As the name suggest, Pi-Hole was originally setup on a Raspberry Pi. Eventhough, you can deployed anywhere from using Raspberry Pi or a Docker Container. Connect it to your home network, and set your local DHCP to publish your Pi-Hole address as DNS server. After that, enjoy the experience of more cleaner and reduced ads and tracker for all of your home network devices.
DNSCrypt Proxy in the other hand is a DNS over HTTPS - DoH proxy. It will tunnel your DNS Query over HTTPS, and definitely will bypass those “Internet Sehat” censorship. I use it as Pi-Hole local upstream DNS resolver. DNSCrypt Proxy will send my home network query into publicly available DoH, such as Google or Cloudflare DNS, or event doh.tiar.app. This proxy is deployed on the same machine as my Pi-Hole.
Deployment
Raspberry Pi Setup
I have a Raspberry Pi 2 lying around unused. Previously, this was my teaching tool for System Programming subject during my day as university lecturer. This Pi will become my running host for Pi-Hole and DNSCrrypt Proxy.
Raspberry Pi installation has become much simpler in recent years. You don’t have to manualy dd-ing disk image into your SDCard. Just use rpi-imager to deploy an OS into your Raspberry Pi.
I installed rpi-imager via apt package management on my Ubuntu 20.04.
sudo apt install rpi-imagerYou might want to use headless installation on the Raspberry Pi. You need to setup your network, user and ssh via rpi-imager. Raspbery Pi Guide, Hackster, or PiMyLifeUp has nice tutorial for headless installation. I used raspbian 11 as my base OS. Also, you might need 16GB or 32GB SDCard for this setup. Pi-Hole will create your blocklist database and query logging on your SDCard.
After the Pi has been booted up and connected to your home network, you can ssh into your Pi using user that has been configured via rpi-manager. Do package update on the Pi to fetch latest update and security update.
sudo apt update && sudo apt upgradeYou might also need to install some tools and editor like git and vim
sudo apt install git vinWe’re basically done with basic OS, and now lets get into deploying Pi-Hole.
Deploying Pi-Hole
- Fetch latest Pi-Hole from its repository
git clone https://github.com/pi-hole/pi-hole.git Pi-hole - Change to the installation directory
cd "Pi-hole/automated install"- Run the installation script
  chmod +x basic-install.sh
  sudo bash basic-install.sh
Accept the default configuration and set a password for Pi-hole login. We will change this configuration later on.
After the installation finished, you can login into your Pi-hole by accessing Pi-Hole admin page on
http://YOUR-PI-HOLE-IP/admin/index.php. Access the dashboard via password that has been set during installation. I do not use TLS here, because i limit the access for the Pi-Hole admin page using iptables. But, you might also want to add it. Self signed certificate should be suffice. Pi-Hole uselighttpdfor web server, so you can configure your certificate there.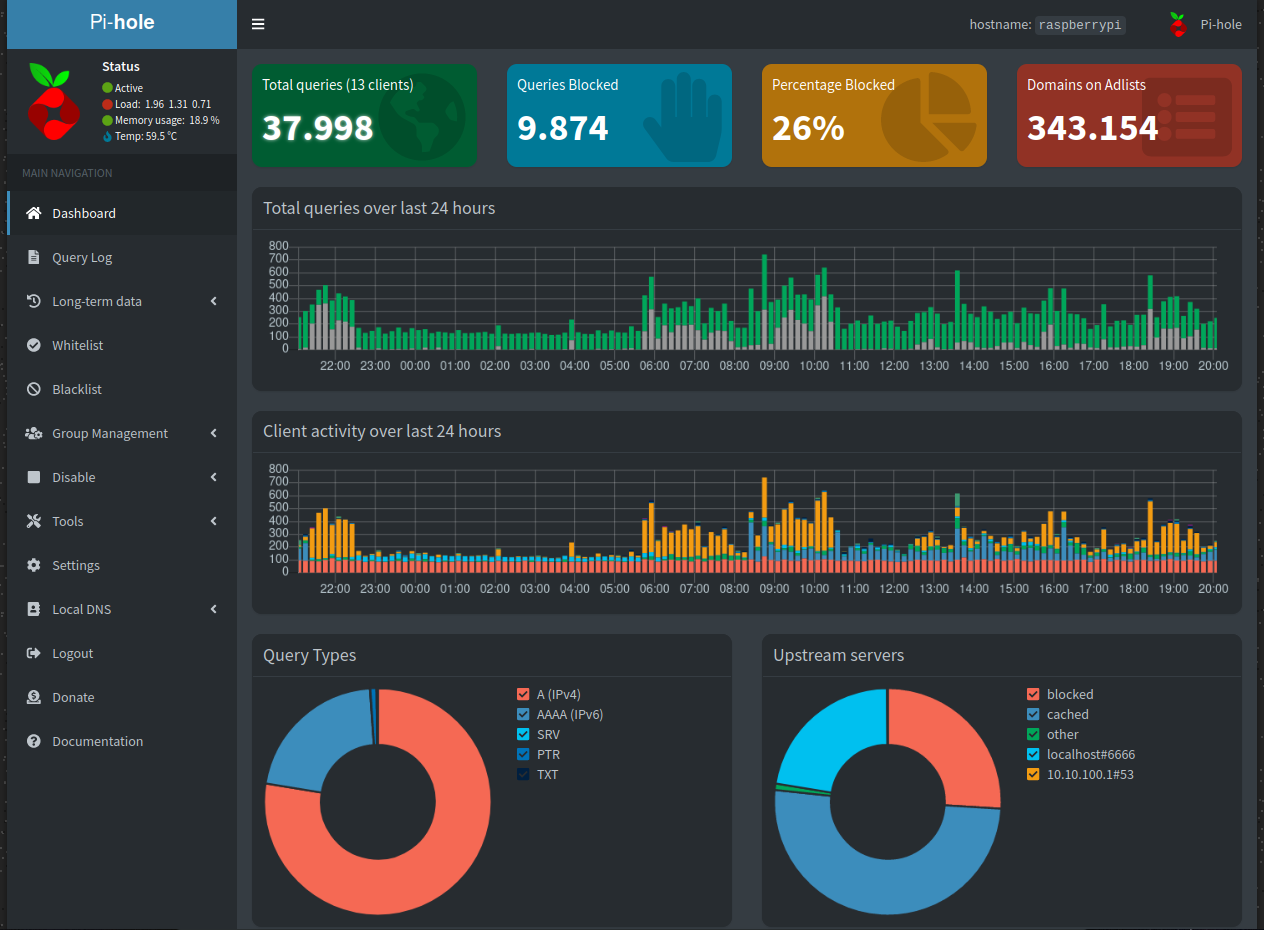
Go to
Settings --> DHCPif you want to use your Pi-Hole also as your home network DHCP Server, like i did/Add your tracker and add blocklists on
Group Management --> Adlists. Firebog is one of nice blocklists collection that you can use. Techno Tim have a nice video tutorial on using Firebog as your blocklists source.Go to
Settings --> DNSto set your upstream DNS Server. But, if you are using our proud Telkom Indihome as your ISPs, you should set DNSCrypt as your upstream server. We will discuss it on the next section.
You can also peek Privacy International or RIPE Network for another good instruction on deploying your Pi-Hole.
Deploying DNSCrypt Proxy
- Go fetch latest release on DNSCrypt Proxy. When i wrote this, the latest release is
2.1.1
  cd /opt
sudo wget https://github.com/DNSCrypt/dnscrypt-proxy/releases/download/2.1.1/dnscrypt-proxy-linux_x86_64-2.1.1.tar.gz- Unarchive the downloaded archive
  sudo tar -xvzf ./dnscrypt-proxy-linux_arm64-2.1.1.tar.gz
  mv linux-x86_64 dnscrypt_proxy
cd dnscrypt_proxy- Create configuration from example. The most important part are you set your DNS over HTTPS (DoH) upstream and your listen address. You can peek for more DoH upstream on DNSCrypt Proxy Public Servers List
sudo cp example-dnscrypt-proxy.toml dnscrypt-proxy.toml vi dnscrypt-proxy.toml
server_names = ['dnswarden-uncensor-sg1-doh', 'doh.tiarap.org', 'cloudflare', 'google']
listen_addresses = ['127.0.0.1:6666', '[::1]:6666']
A full example of
dnscrypt-proxy.tomlexample can be viewed also at pengelana / doh.tiar.app githubPut your DNSCrypt Proxy upstream on your Pi-Hole via
Settings --> DNSadmin page.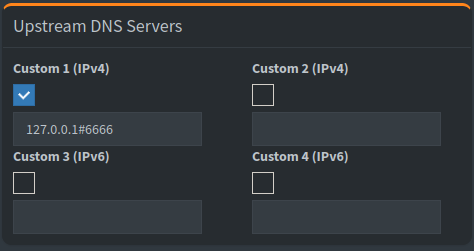
Enjoy